


 |
 |
 |
| Home | Research | Delivery | Empennage | Wings | Fuselage | Finish | Engine | Electrical | GRTDecode | Previous|Next|Latest |
| Fuselage | Cockpit | Fuel Systems | Undercarriage | Canopy | Flaps | |
Fuselage | |
Sun 11 January 2004 | |
| We then spent the rest of the afternoon cleaning up the shed and tidying the workspace. As a bit of light relief we got down the forward fuselage components and tried to mock-up the cockpit area and panel. This seemed to show more problems than it solved. Whenever we put together the upper section (even with clecos) we seemed to come up short in space, and significantly so (1/2 inch ish). This leads us back to the damage on the edge spars that we found after delivery. | 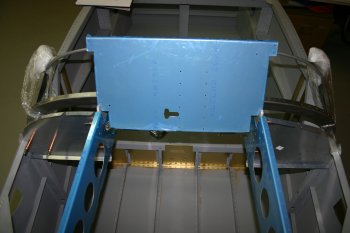 |
| I'm still trying to work out how serious the damage is in the long term. More emails tonight to various email lists and researching the distances of other peoples kits / quick builds. | 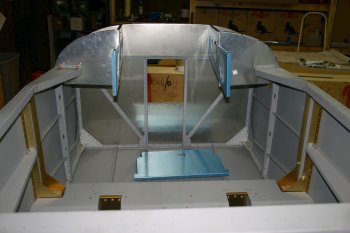 |
Mon 12 January 2004 | |
| Lots of thought and emails back and forward to the various email lists. Thanks to Jim, Dan and Robberta for providing information. Looks like our fuselage might be about between 5/16 and 7/16 too small. Not sure of the path forward yet. | 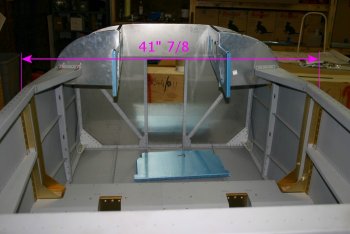 |
Thu 22 January 2004 | |
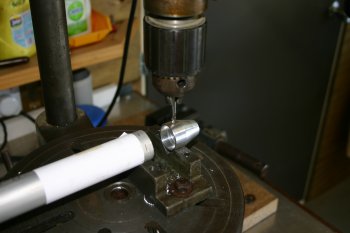
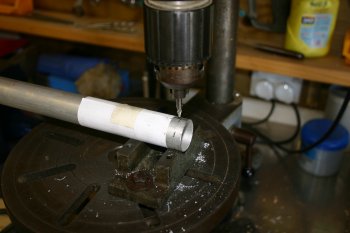
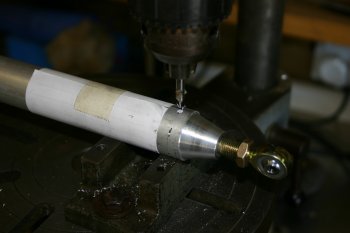
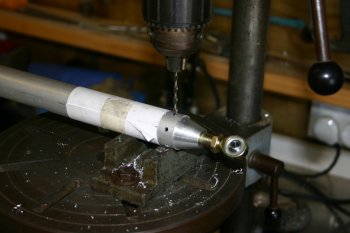
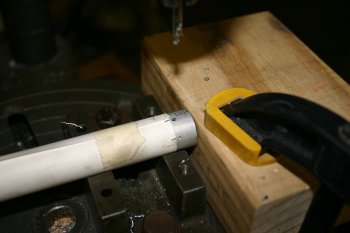
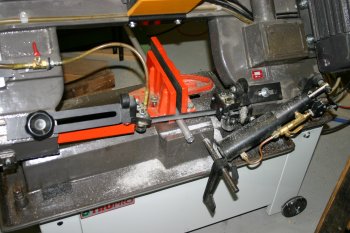
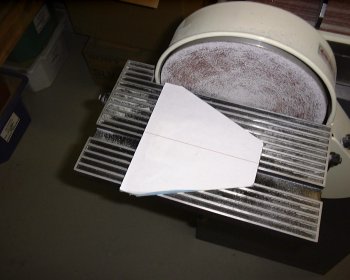
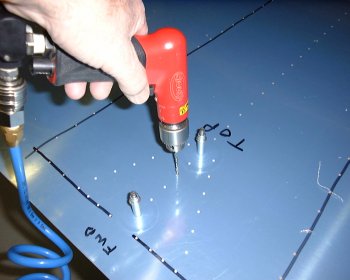
| Next up were the elevator push rods as I was in the grove of drilling push rod ends. The process I used for all the rod ends was:
|  |
|  |
|  |
|  |
| The whole process started settling into a nice steady rhythm. Finally I uniquely marked the ends (so that you can put the bits back together again in the right orientation) and deburred and tidied ready for priming, more for the pile..... | 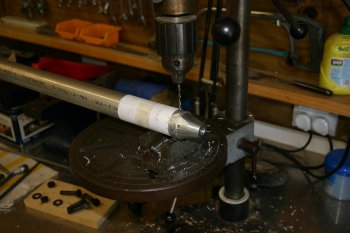 |
Thu 29 January 2004 | |
| We finished the evening back with the right hand wing. We also got down the aileron and flap and hopefully I'll be able to fathom the mounting mechanisms tomorrow. | 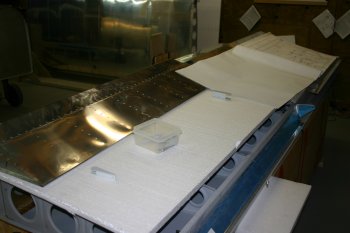 |
Fri 30 January 2004 | |
| A large chunk of the afternoon was spent cleaning and smoothing the edges of any pre-punched parts that I could find easily. This work has to be done at some point, is pretty simple and may as well be done now. I sorted all the internal cockpit areas (eg. Panel sub structure, tunnel covers, flap actuator covers etc) and these are now all ready to be used in anger. It is also nice to be able to handle parts for each new section ahead of time as it gives the opportunity to understand how some of the bigger picture fits together. | 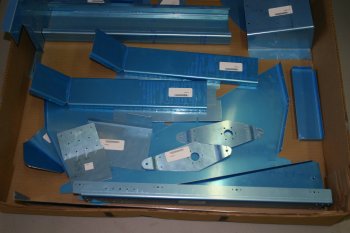 |
Mon 23 February 2004 | |
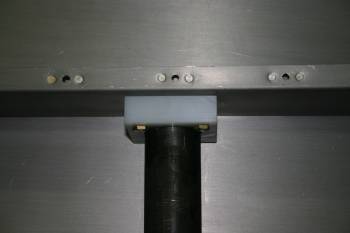
| Dad started looking at the external steps. Basically it is a hole cut in the side of the fuselage and fix the high density plastic bearing to an inner stiffener. The kit seems to some with a selection of rivets which seem fairly generous in number. | 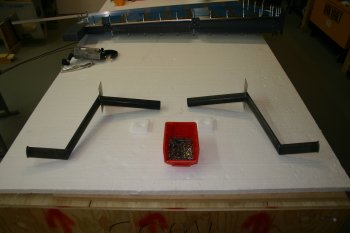 |
| On the first side Dad used 1 1/2" hole saw which was OK, but it needed opening out before the step would fit. On the second side we used a 1 9/16" saw which seemed to align everything much better. | 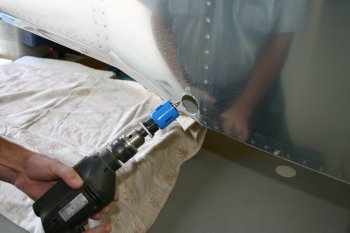 |
| After initial fitting. One of our outstanding queries is the forward edge of the steps doesn't form to the shape of the outer skin, we are trying to work out if we need to bend the steel plate. | 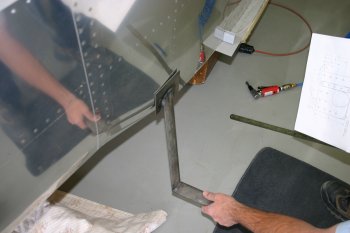 |
| More rotary burr work, the general shape is pretty simple. | 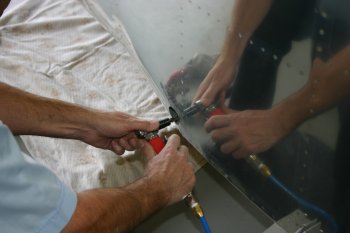 |
| Rather than trying to mark out the steps via measuring, Dad used the 1:1 scale template photocopied onto card. | 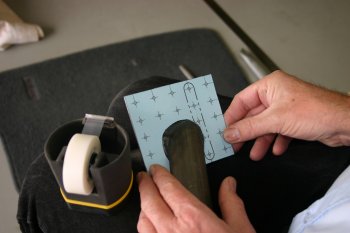 |
| Then the steel was drilled to #30 as a template - a bit of boelube helped. | 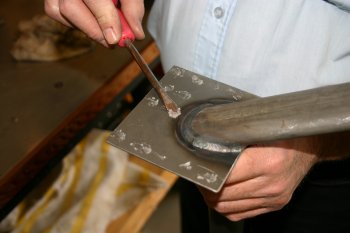 |
| The plastic mounts were also drilled. | 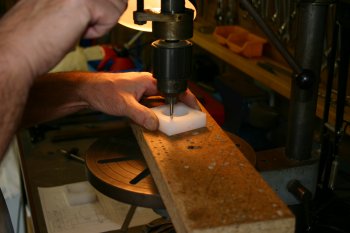 |
Wed 25 February 2004 | |
| Finished off looking at the step mount. The biggest problem seems to be the aft edge of the steel plat sticks out a long way. Current options are try to shape it by bending or just remove the problem part by generous trimming. The plans call for a little trimming but it will need more if no bend is included. We will wait for the 'good' fuselage before any permanent bends are made. | 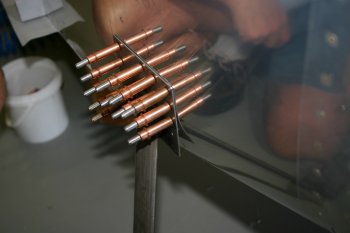 |
Mon 01 March 2004 | |
| Dad also managed to sort some of the preparation for the push rod / tubes. The cutting and drilling has already been done but the parts need permanent identification marks sorting and cleaning up, he used the tip of the small pilot drill to label 1,2,3 & 4 dots. | 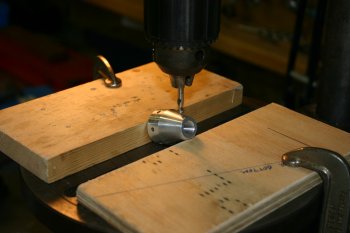 |
Tue 02 March 2004 | |
| Dad prep'd the push rod tubes, normal process, AllSol degrease, De-oxidine acid etch and then spray with rattle cans. | 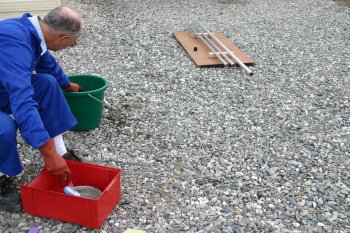 |
| The completed spraying. All the internals of the tips, no internal priming of the tubes done yet. | 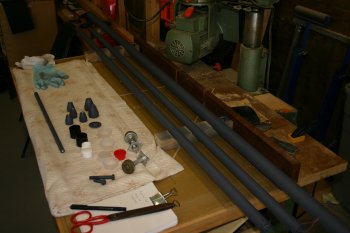 |
Wed 03 March 2004 | |
| Quick process of riveting one end of the push rods was completed. We will paint the inner side of the tubes before riveting the other ends. | 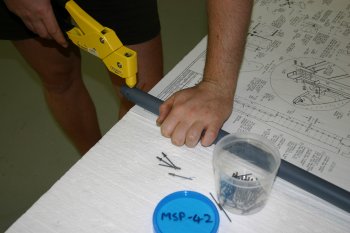 |
Fri 05 March 2004 | |
| Today was a GOOD day. We started by priming the internal surface of the push tubes. Firstly I used electrical tape to 'seal' the ends and the rivet holes at the open end. | 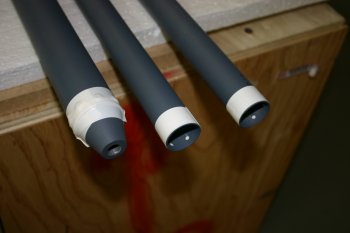 |
| We then mixed up some of the tin of etch primer 50/50 with thinners. This was done for two reasons: a) reducing the surface tension of the paint helps the coverage / 'flowability' for the internal surfaces and b) you will see why we needed thinned paint below. | 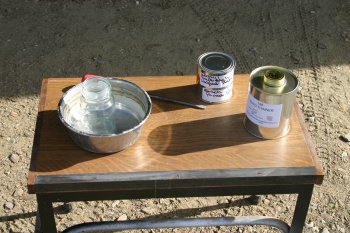 |
| Dad then poured paint in one end whilst I rotated the tube, then I did the same again whilst we poured it back out into the next pouring vessel. This worked really well and resulted in a thin smooth cover throughout the tube. | 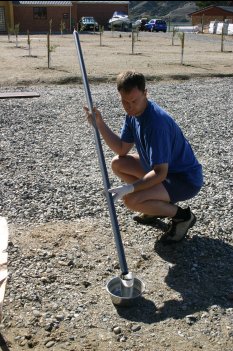 |
| Then it was out in Sun Mark 4 to bake the paint. | 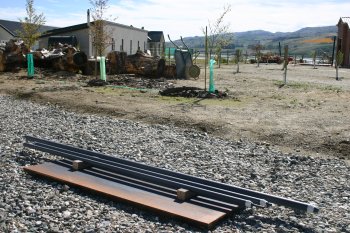 |
Sat 06 March 2004 | |
| First task was nice and easy. Completing the push rods. A few more MSP-42 and they were done. Then safely stored away. Might setup the wing bell cranks tomorrow. | 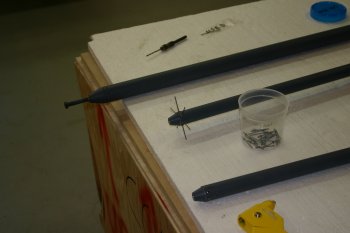 |
Tue 16 March 2004 | |
| Dad then moved onto forming non- 90 degree corners on AL angles. The easiest method he sorted was just to squeeze or stretch the AL in a vice, lots of leverage. | 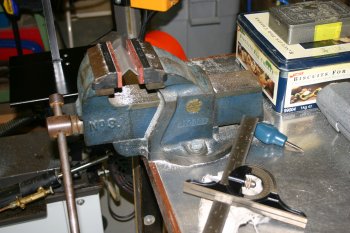 |
| Then the normal fabrication type stuff, drill, cut debur, scotch brite etc. | 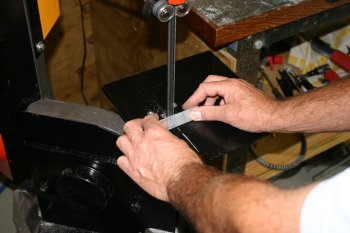 |
Fri 19 March 2004 | |
| Wrapping up the day I also sorted the two large angle brackets that go under the canopy hoop. Another bit ready for priming. | 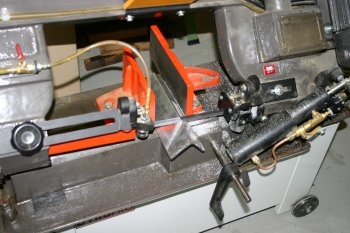 |
Sat 20 March 2004 | |
| Another part to prep for spraying - the elevator bell crank. Small shim needed and the TruTrak push rod mounting location drilled. | 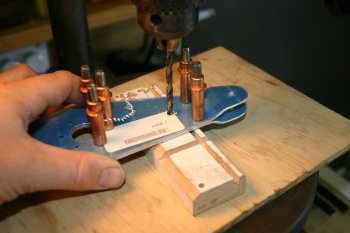 |
Mon 22 March 2004 | |
| Also the fuselage was stripped down of all the previous bits of work we have done over the past few weeks. The new fuselage should be here mid week. | 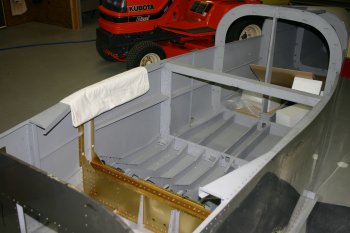 |
Wed 24 March 2004 | |
 | |
Thu 25 March 2004 | |
 | |
 | |
 | |
 | |
 | |
 | |
 | |
 | |
 | |
 | |
 | |
 | |
 | |
 | |
Fri 26 March 2004 | |
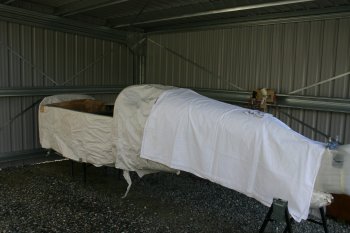
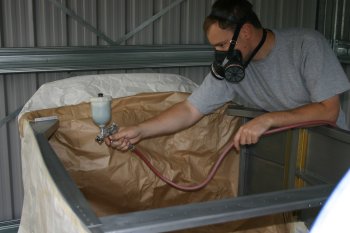
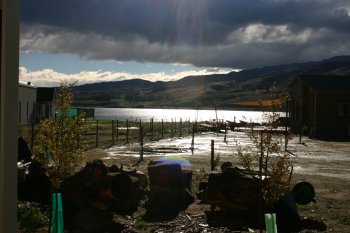
| Woke up to a howling gale - no spraying for this morning / today (the white tops on the lakes waves gives it away.....) | 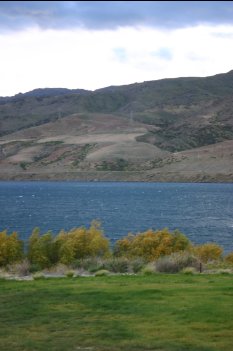 |
 | |
 | |
Sat 27 March 2004 | |
 | |
 | |
 | |
 | |
Sun 28 March 2004 | |
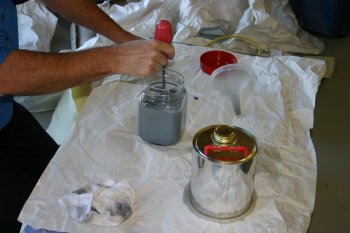
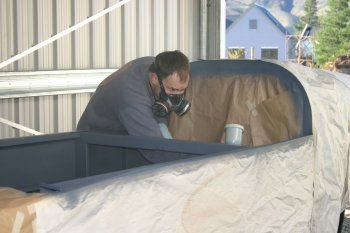
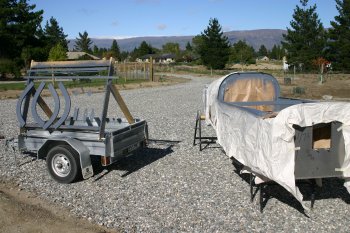
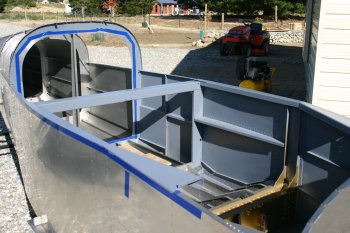
| When I first woke up the day was looking promising for spraying so I started preping (scuffing, cleaning, acid etch) a number of parts. | 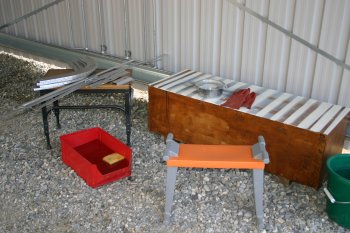 |
| But the wind was howling again by the time I was ready so the priming had to be posponed again. | 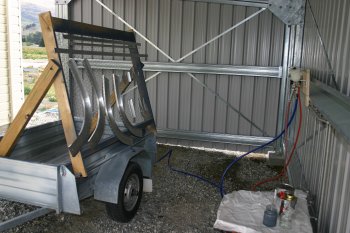 |
Mon 29 March 2004 | |
 | |
 | |
 | |
 | |
 | |
 | |
 | |
 | |
 | |
 | |
 | |
 | |
 | |
 | |
Wed 31 March 2004 | |
 | |
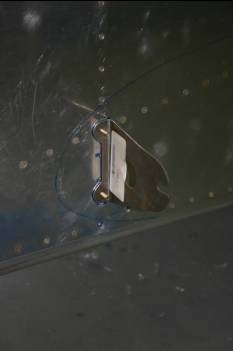
| The steps can be attached by either solid or pop rivets, however the solid rivets require this side panel to be removed - I really dislike drilling out good rivets...... | 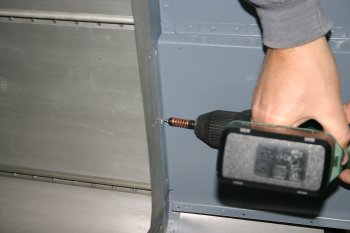 |
Mon 05 April 2004 | |
 | |
 | |
 | |
 | |
 | |
Tue 06 April 2004 | |
 | |
 | |
 | |
Fri 03 December 2004 | |
| First real work on the project was to start removing all the various sub-assemblies that we stored attached to the fuse. Then a good vac and clean up. | 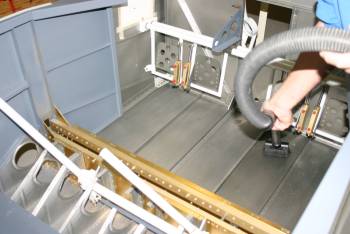 |
Sat 11 December 2004 | |
| Getting the wings off was not simple. The lower bolts in particular did not want to come out of the spar. I know VANs says the spar bolt may need to be 'tapped' in, but it was significantly harder than that. |  |
| Success - de-rigged spar. The next steps are to tidy everything up and start thinking about the fuel and brake systems |  |
Mon 13 December 2004 | |
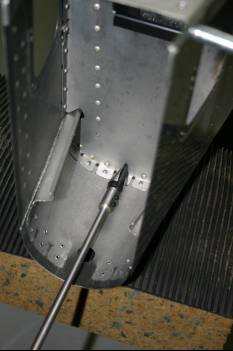
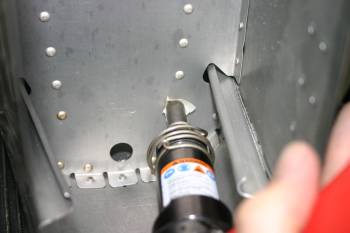
| Dad worked on the fuel line location. This is a two skin area on the 7A. The first thought was to drill through both skins. |  |
| However, I thought maybe a smaller hole on the inner skin might work well. |  |
| We discussed for a while and decided that just follow the instructions. If I was doing it again, I think a smaller whole on the inner skin would actually work better. | 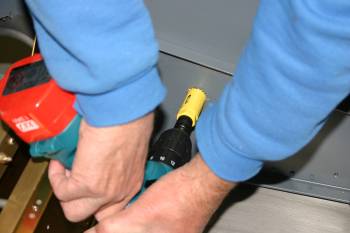 |
| Now don't laugh! - But, some of the more critical areas that we have been shaping and drilling over the past few days have ended up with no primer so a little touching up by hand seemed like a good idea..... Complete over kill, but why not! |  |
Wed 22 December 2004 | |
| I started making the panel covers for the forward turtle deck. Simple but steady progress. | 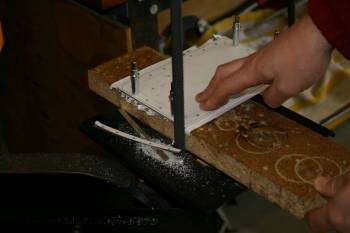 |
Mon 27 December 2004 | |
| I started with a little job of mounting the NACA vents | 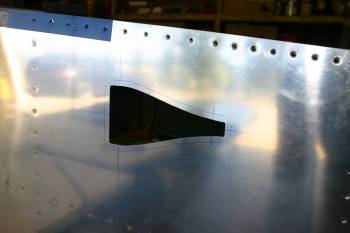 |
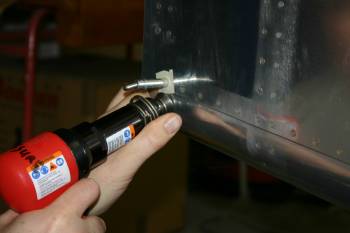
| The only decision to make is how they are going to be mounted. One option is to just use Pro-seal (aka black-death) and 'glue' the plastic vent to the skin, however I think I prefer the option of using a few pop-rivets to locate and pro-seal to provide the air seal | 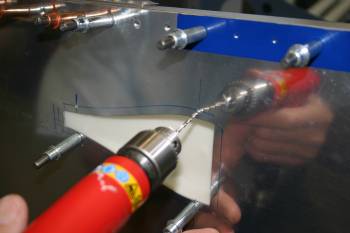 |
| As summer has decided to start today in Central Otago, we changed tacks and got a batch of priming sorted. | 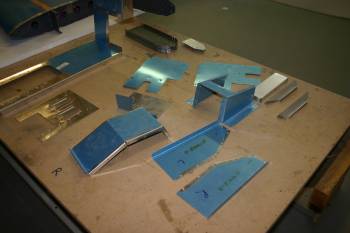 |
| The bonus was I got to spend some time in the sunshine whilst scuffing / prep'ing the parts. | 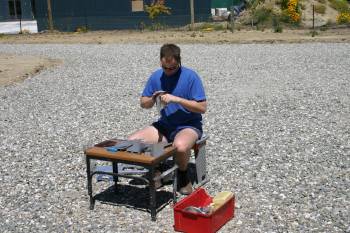 |
| Dad did the AllSol cleaning. | 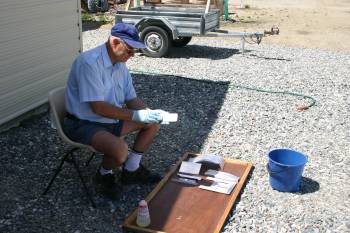 |
| and then I de-oxidined (acid clean / etch) | 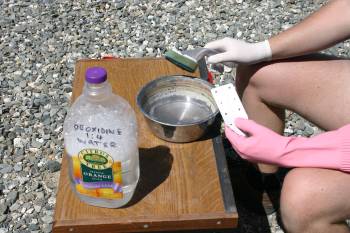 |
| Drying in the sun is very quick, and the wire rack was still around stored at the back of the shed. | 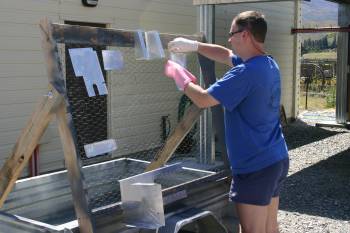 |
| Then it was re-learning the spraying process. Generally got the swing of it quickly again. | 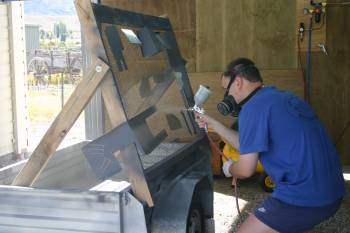 |
| Then back to the sunshine to bake off..... | 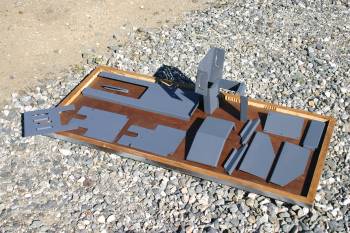 |
Tue 28 December 2004 | |
| Tunnel cover and rear bulkhead riveting. | 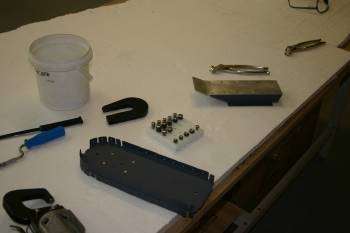 |
Wed 29 December 2004 | |
| During other moments during the day Dad also did the rear access plates for the fuse. | 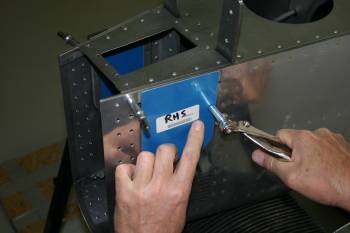 |
Thu 30 December 2004 | |
 | |
 | |
 | |
 | |
 | |
Fri 31 December 2004 | |
 | |
 | |
 | |
 | |
 | |
 | |
 | |
 | |
 | |
Sat 01 January 2005 | |
| Happy new year! I spent today doing a little sub project, the electric aileron trim. | 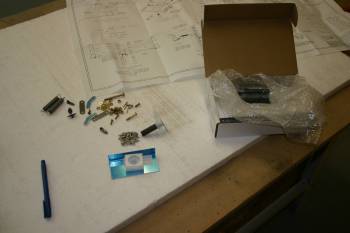 |
| First up was finishing the pivot block, plastic so everything is drilled 'too large'. | 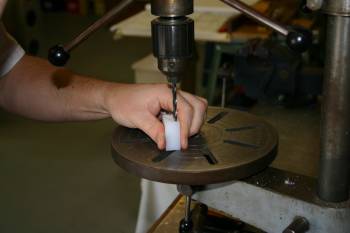 |
| Then remove the QB nutplates on the center ribs. | 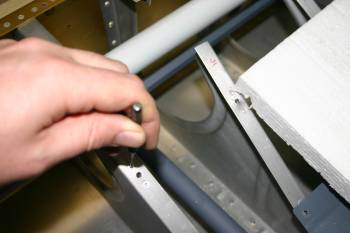 |
| Match drill the new plate. | 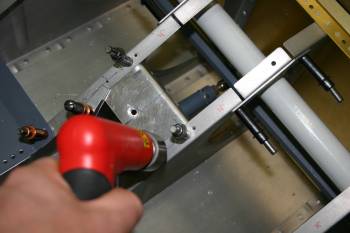 |
| Bend and trim the bell crank. | 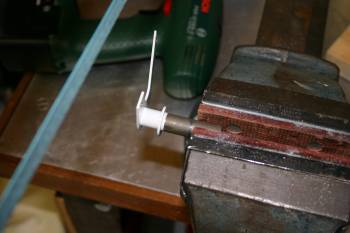 |
| Cross drill for the retaining cotter pin. | 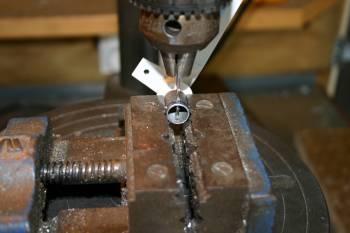 |
| The completed sub assembly. The only problem was I didn't know what position the server was in. It has to be set to the 'mid' position before mounting. | 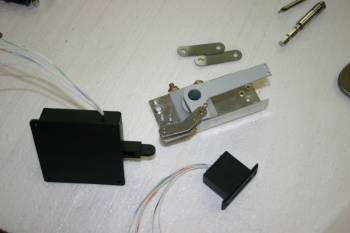 |
| Therefore I had to setup the LED display to find out what the servo position is. The only issue was the display is 10 bars, therefore the mid position is one of two locations. I ended up setting up the bias being for the P2 seat being empty therefore maybe a slight right wing down, might be in the noise, but as good a idea as any other. | 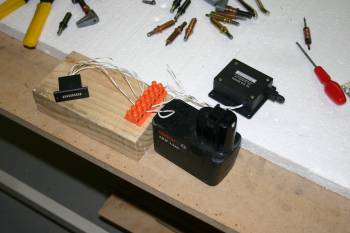 |
| Then it is mount everything up and eye ball all the lines. A mirror is needed for the servo / top of rib gap. The only problem was we don't have a #6 screw clearance (#28) right-angle drill. I used #30's and we can sort later. All the parts were then dismantled ready for priming and final assembly. | 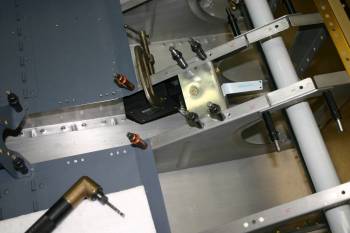 |
Mon 03 January 2005 | |
| Dad continued with the steps mounting, the outer skins has to be 'shaped' for the weld bead on the steel steps. Slow iterative work. | 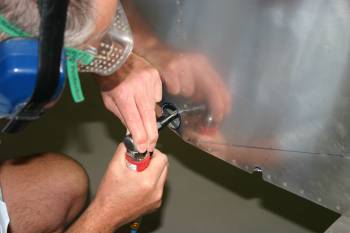 |
| The second column of rivets we re-aligned and back drilled just two locations through the skin vertical stiffener. | 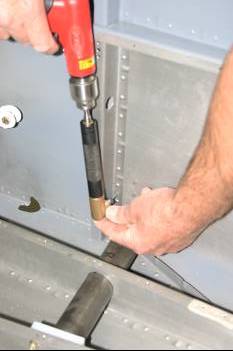 |
| Completed step, ready for priming / riveting. At the moment we are also planning on putting a layer of Pro-Seal to help waterproof it. Obviously the other side also had to be completed. | 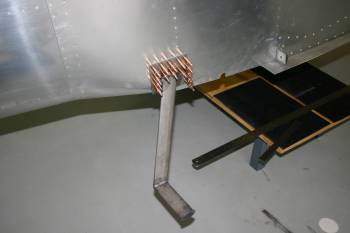 |
Tue 04 January 2005 | |
| Dad did some trimming of the two steps of the aft lower corners | 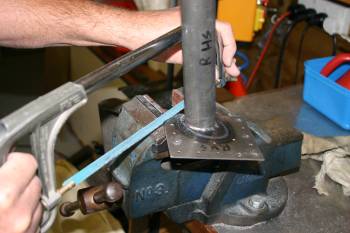 |
| and then tidied with the angle grinder (and emery paper...) | 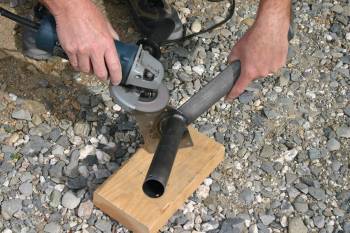 |
| Finishing the step mounting, the cross drilling was run through. All cleco'd together for the moment, ready for priming. | 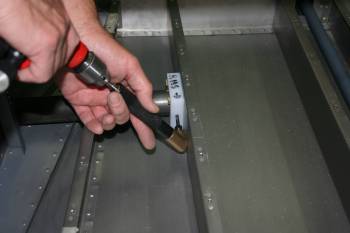 |
| Then we took the legs off and put the fuse back down to a sensible level. | 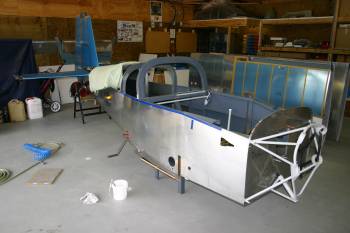 |
| We only had a 'half' day today, so I finished off with drilling out some of the rear fuse rivets ready for mounting the pitch servo. | 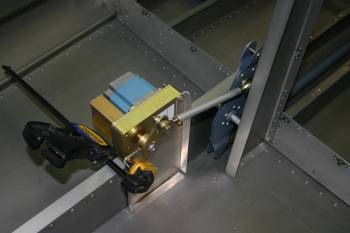 |
| The mounting plate was back drilled. The only concern is the alignment of the push rod seems a little difficult, but at the moment I think it is a 'just follow the instructions....' | 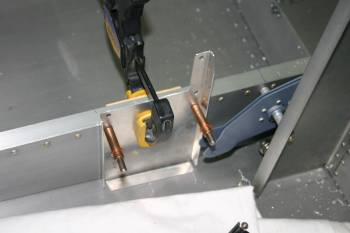 |
Wed 05 January 2005 | |
| I started for the lower elevator push rod, we had worked out that we needed the maximum length possible, I worked out it was exactly what VANs specified as the 'normal' length - suprise suprise..... | 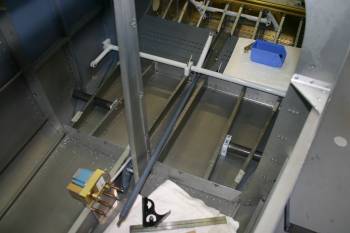 |
| After a bit of manipulation everything fitted. | 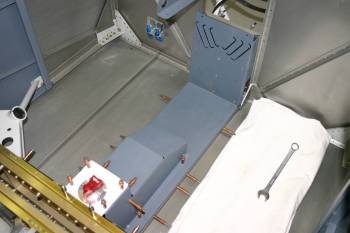 |
| The final solution all looks good although only using bronze clecos rather than #8 screws for the moment. | 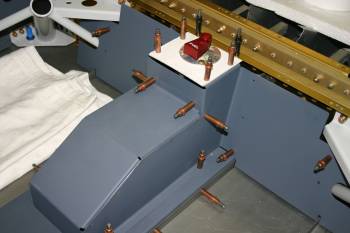 |
| Dad didn't get much time on the project today, but did manage to tweak some of the cover plate stand offs | 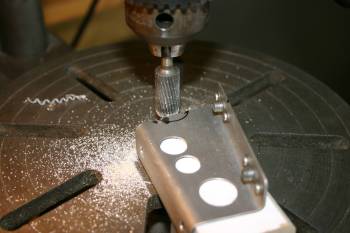 |
| and fitted them. | 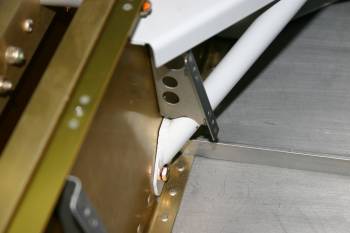 |
Fri 07 January 2005 | |
 | |
 | |
Sun 09 January 2005 | |
 | |
 | |
 | |
Mon 10 January 2005 | |
 | |
Tue 11 January 2005 | |
| The weather was looking good so I masked up the fuselage so that the missed top coat areas could be re-done. I also prep'd various other misc bits for spraying. However the wind picked up so that plan was put on ice. | 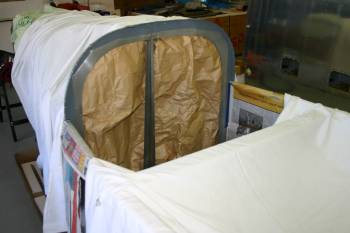 |
Wed 12 January 2005 | |
| Then as the wind had dropped we made a dash for some spraying. Normal deal, re-scuff, AllSol, de-oxidine, etch-prime and for some parts top coat also. | 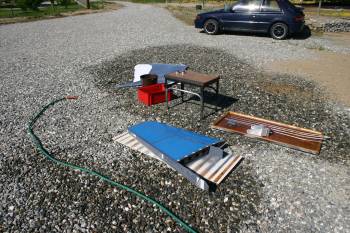 |
| The main top coat bit was the areas that I missed previously on the rear cockpit bulkhead. 'Next time' I would mask this like this first time and it would have saved a heap of hassle! | 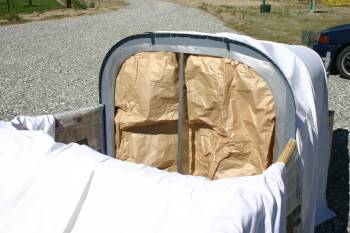 |
| The finished product looks OK, although without completely sanding back the original acrylic paint a faint ridge can be seen. By the time it is all done it won't be obvious, and if it bugs me enough I'll get some 'sound-proofing' (aka fabric) to finish the area. Also sprayed we some of the front gear leg components, plus some firewall forward bits that happened to be around. | 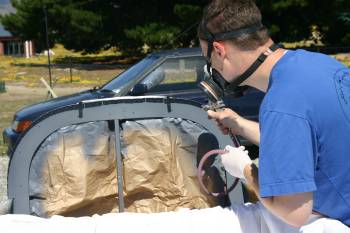 |
| Like many operations, the prep and clean up time takes as long as the actual 'work'. Full disassemble and clean of the air-gun today. | 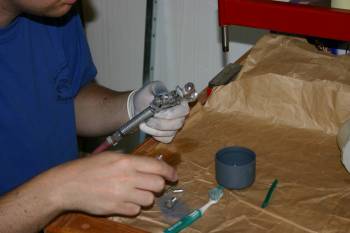 |
| Finished product - no unprimed gaps! | 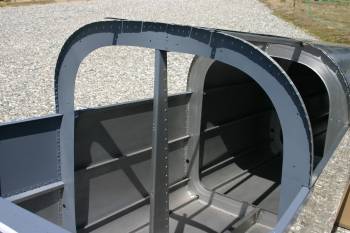 |
Thu 13 January 2005 | |
| The rear upper fuse skin needed the support panel back riveted. |  |
| And the pitch servo mount plate. |  |
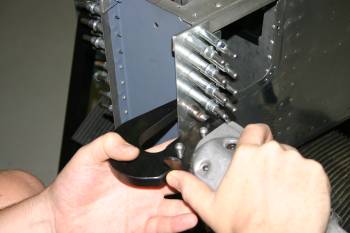
| The forward tank attach bracket needed to be held with keeper rivets, the problem is access for the bucking bar. Some modification of a stock bucking bar and polishing sorted a custom solution. | 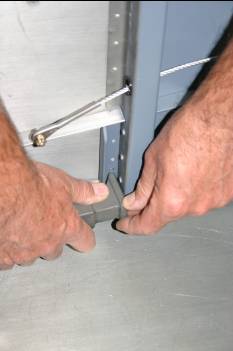 |
Sun 16 January 2005 | |
| Dad only had a partial day available, but did manage some work on the rudder cable fairings. | 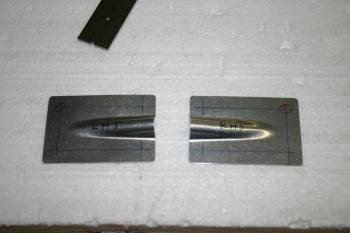 |
Mon 17 January 2005 | |
| Dad continued with finishing the rudder cable fairing. | 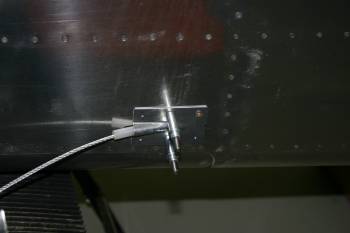 |
Fri 21 January 2005 | |
| Dad did a load of prep on the pile of parts for priming. The wind wasn't helping so the actual spray will be delayed. (Only tomorrow left before I have to start packing up for the UK) | 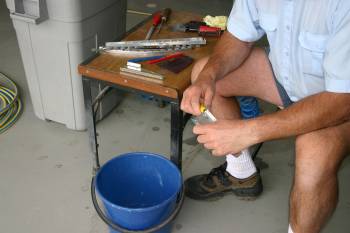 |
Sat 22 January 2005 | |
| The rest of the day we cleared up and tidied everything away. Tomorrow it is shopping list creatation and planning. Then I'm back off to the UK...... | 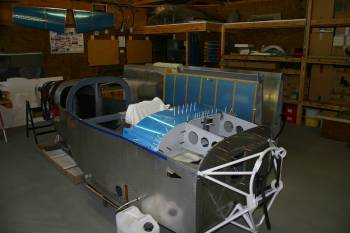 |
Wed 24 August 2005 | |
| Mean while Dad sorted the rudder cable fairings, we shot the rivets and then he fixed the clamps and tubing. | 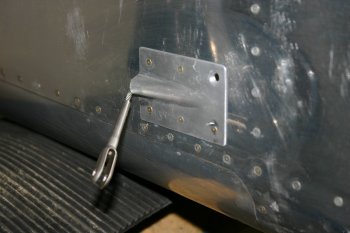 |
Wed 31 August 2005 | |
| I continued this morning with the custom front access panels. Drilled the corners, then sabre saw for a rough cut. Then it was slow careful progress by file / scotchbrite finishing. | 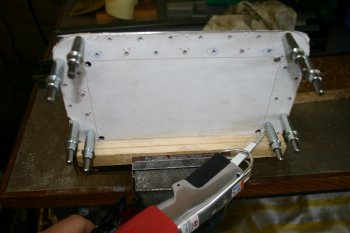 |
| Then lots of drilling / nut plates. I decided to use #6 screws here and 'next time' I would use fewer screws! | 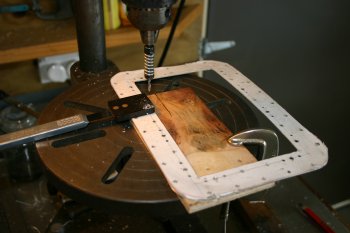 |
| Final step dimpling and prep'ing for priming. A few more parts to add to the pile. The weather is still too cold for spraying at the moment. | 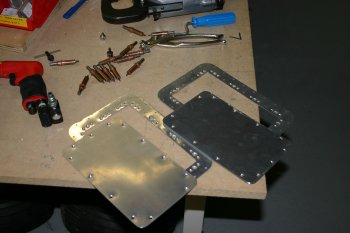 |
Fri 09 September 2005 | |
| One thing to remember - without the nose wheel / main gear installed - you need a significant amount of weight on the tail to balance the engine. | 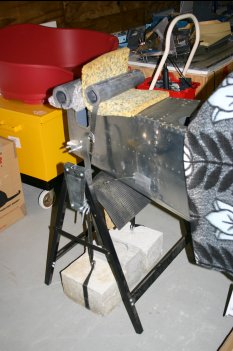 |
Thu 06 October 2005 | |
| The weather looked promising for mid afternoon, so we went into prep mode. Quite a sizable pile. | 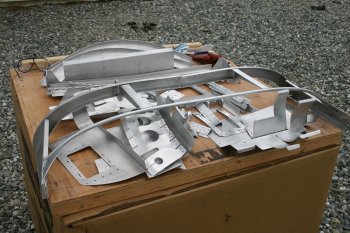 |
| I did the de-oxidine and Dad washed and dried. | 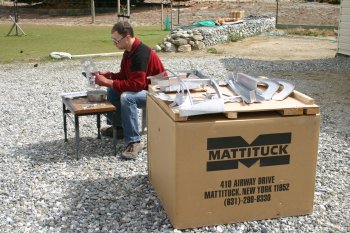 |
| We just got everything out to dry and then the wind and rain came! The good thing about Central Otago is wait 30 mins and the weather is different. | 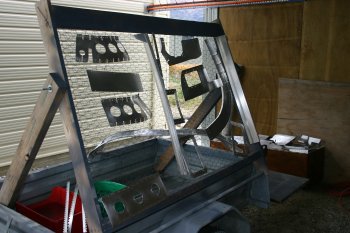 |
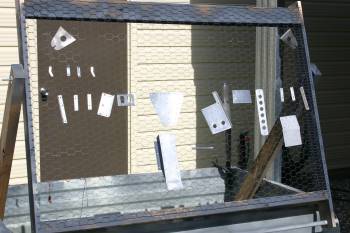
| The sun came out and helped the drying, the wind dropped back down and we went for it. I ended up doing nearly 3 hours of solid spraying, the biggest batch for the project so far by a significant amount. | 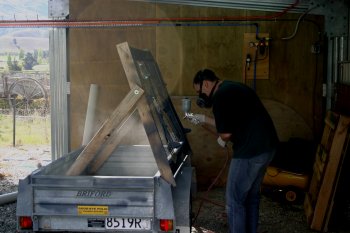 |
| The resulting parts, all the baffles, the canopy frame and braces. | 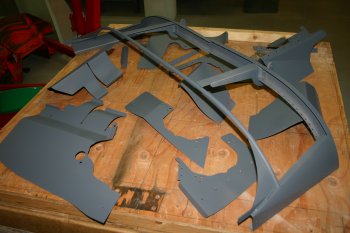 |
| Everything drying off overnight. Tomorrow we can start putting some of the past months creations together with real rivets. | 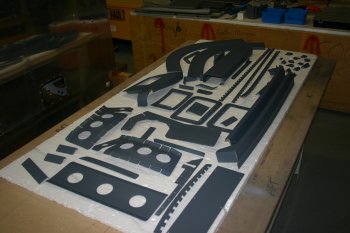 |
Mon 24 October 2005 | |
| For something completely different I worked mainly on the strobe pack mounting today. After reviewing the various options I picked the under baggage location. A few CAD revisions and then fabrication. Bending with some precisions (the gap between the ribs is 7 9/16") and pre-drilling for nutplate locations. | 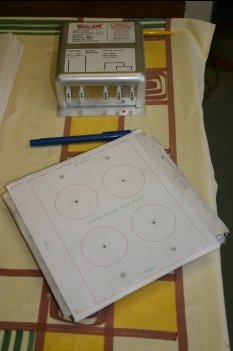 |
| The location for the bracket on the P2 side. Finishing from here was just drilling out to #30s and cleaning up. Also sorted the stick boot covers and the bend needed in them. | 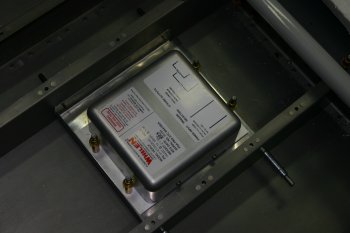 |
Tue 01 November 2005 | |
| The flap motor requires a safety wire, which in turn requires a small drilled hole outside the lock nut. This was the result of the first attempt - OK but very thin material left and a bit small after review. | 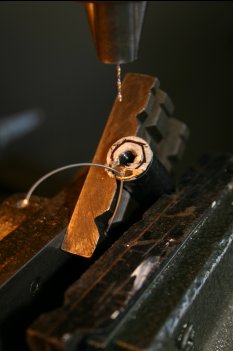 |
| Therefore I made a second location. This time I used a two step process, the first drill (about 2mm) was square to the face that the lock nut goes on. This provided enough of a 'flat' surface for the 1mm drill to not bend / slip. | 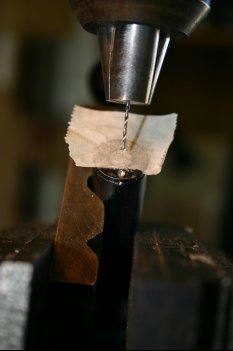 |
| The result - looks good, another thing to add to the pile of ready to top coat and install parts. | 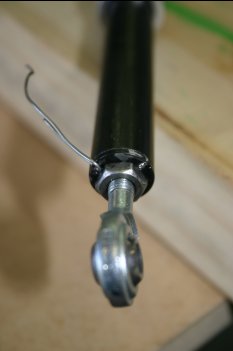 |
Wed 02 November 2005 | |
| Whilst we waited, we started looking at the static pressure lines. We will have two static sources, one in the traditional location and one on the heated pitot head in the left wing. The main challenge is the routing of the tube through the F-705 bulkhead. The 'normal' route is just below the longeron. | 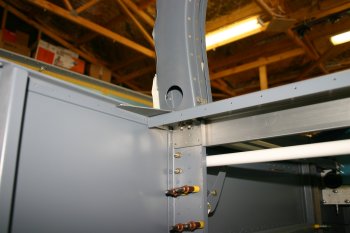 |
| This is the problem - the angle bracket that supports the underside of the roll bar and canopy pegs needs an 1/4" minimum hole just to the left of the 'middle' two rivets. The other option is to route the tube lower and through the arm rest area and further forward. More thought needed. | 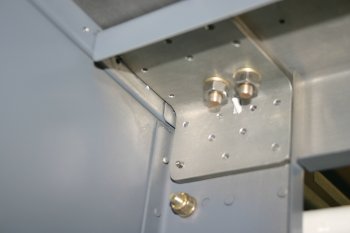 |
| In the mean time Dad continued with the rear drilling / layout fro the pop-rivets. | 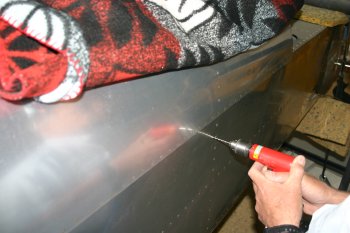 |
Thu 03 November 2005 | |
| I continued with the static line mounting (at arms length). We are going for the simple tie-wrap mounting method - small jig to get the spacing consistent. | 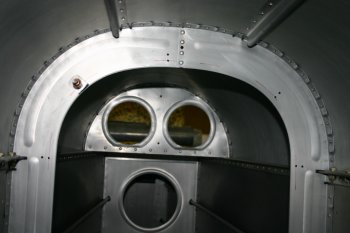 |
Tue 08 November 2005 | |
| Whilst it was cool this morning, Dad did a few Pro-seal misc jobs. The static rivets seemed like a good idea, goo and pull. | 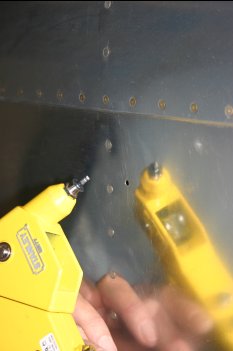 |
Sat 26 November 2005 | |
| Dad was busy with other stuff, but did sort the nutplates for the rear access panels and some inventory / sorting type stuff. Early finish for both of us - social commitments. | 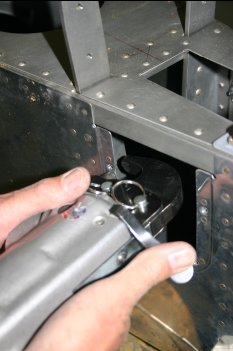 |
Wed 11 January 2006 | |
| Dad continued with the empennage fairings. |  |
| The rivets were drilled out no problems. |  |
| Then continuing with the lower metal covers, we were concerned that the pre-punched parts seemed very 'high' compared with the HS skins so some re-checking was in order, but in the end we decided no problems with the HS mounting and to just use lots of small amounts of trimming were needed. Using the bending brake for support filing was fairly easy. |  |
| The end result for the LHS - currently we are going for a 1/32" gap and trying to do without the rubber seal - we can always increase the gaps if needed later. |  |
Thu 12 January 2006 | |
| Dad continued with the RHS cover plate - shaping of the second one is always easier when you know what you are aiming at. |  |
Wed 01 February 2006 | |
| Dad spent most of the day working on various bits around the rear upper fuselage. | 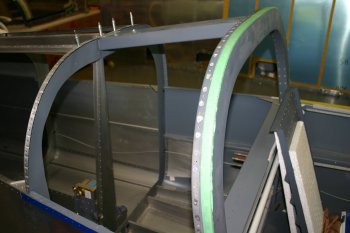 |
| One outstanding item was the new tip rollbar support. This requires some additional rivets, but by default this area had already been fluted so needed to be flattened. | 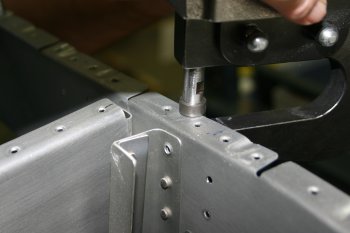 |
| The 8 aft most rivets need to be match drilled from below. | 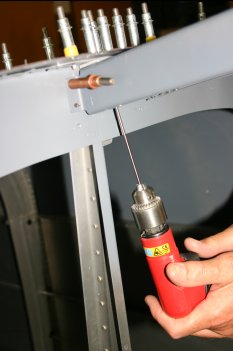 |
| Dad also sorted various measurements and prep for the skins and roll bar ready for top coating and misc modifications. | 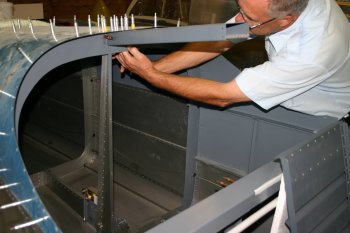 |
Thu 02 February 2006 | |
| Dad de-rigged the rear roll bar and also sorted some trimming of the strike plates - these have been opened up slightly outboard which now aligns nicely with the longeron covers. | 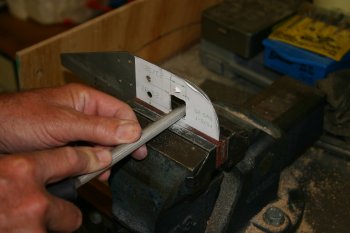 |
Fri 03 February 2006 | |
| Misc bits completed, nutplates installed for the baggage tie downs. | 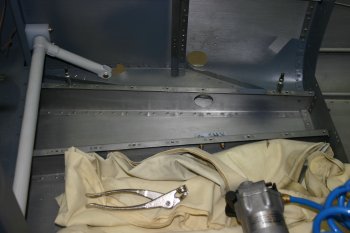 |
| Then lots of edging, scuff and preping for spraying. We have a reasonable size batch for both primer and probably some top-coat parts to. | 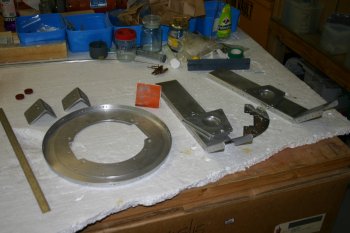 |
Tue 07 February 2006 | |
| Continuing with the clean up / tidying, we removed the 'blue tape' that provided masking / protection on the outboard edges. The glue didn't come off cleanly, but some AllSol got rid of it OK. | 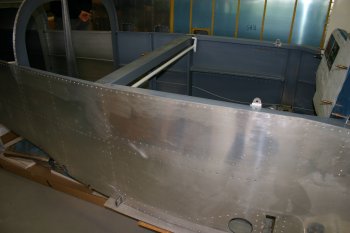 |
Wed 08 February 2006 | |
| An area that we've been considering for a while is the where the canopy meets the roll bar on the outboard edges and the the skin overlap. After seeing the way that Ken did his, we has decided to copy him. So, Dad started attacking the rear skin, a stress relief hole, | 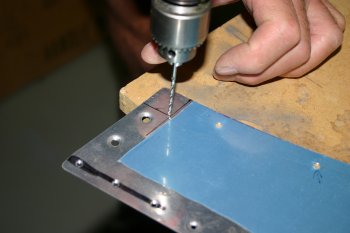 |
| Snips up to the point along the 'vertical'. | 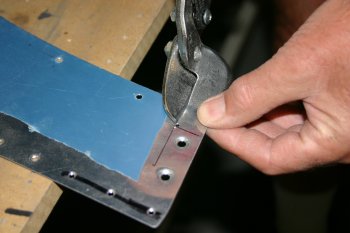 |
| Then a 90 degree bend of the tab. | 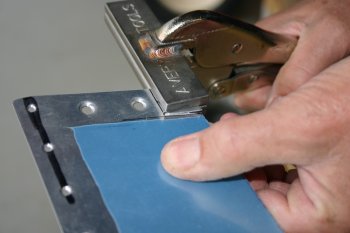 |
| Smoothing and tweaking. | 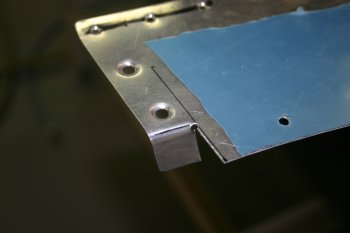 |
| And finally some trimming. Obviously this took a little longer than the above photos might imply - lots of measuring to get a 1/16" ish gap between the roll-bar brackets and the folded material which will be filled with Pro-Seal and careful alingment in general. Looks like it should work well - time will tell. | 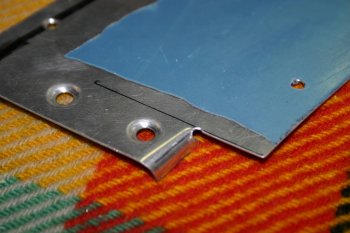 |
Thu 09 February 2006 | |
| The time Dad wasn't helping me hold / curse / bend the inlets, he went round sorting some of the #8 single legged nutplates. We are running out (AGAIN) so the Spruce order will have a handful of these. | 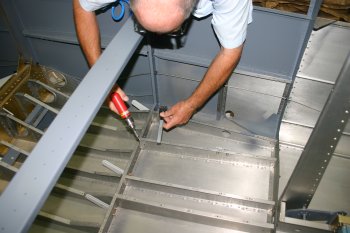 |
Fri 10 February 2006 | |
| Dad continued with fuselage / cockpit work. Various locations were drilled out for snap bushes. We are trying to 'guess' where cables and lines will need to go and pre-provision access. | 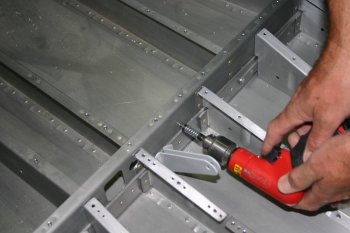 |
| Some of the locations are more tricky. Some of the guessing is rather frustrating - mainly due to the delays in the avionics orders as that will have all the wire and connectors also. | 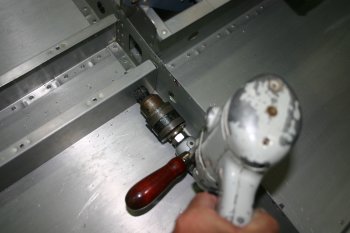 |
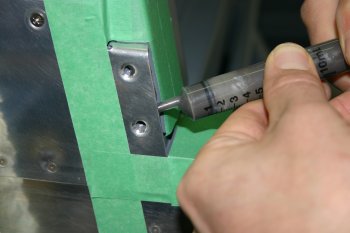
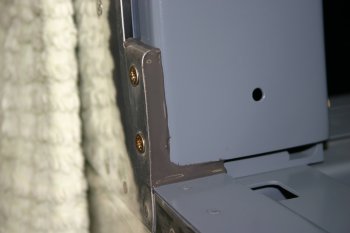
| To finish the day I looked at some of the canopy latch mechanism. The angle bracket mounts don't have any protection between the moving surfaces which I don't like much. I ended up using some of the UHWM tape that I got from VANs. It is VERY sticky, but clear and thin - seems to work well. | 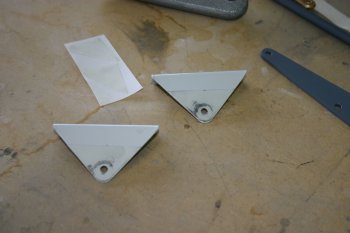 |
| This was the last step for the day, threading a piece of conduit from the baggage bulkhead to the rear section - this should provide support and protection for the aft wires - probably overkill but will help with reducing the amount of time laying in the rear section of the fuselage. | 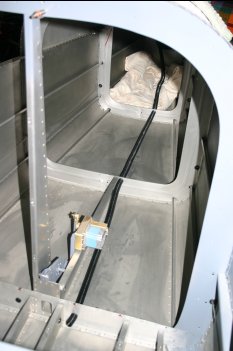 |
Sat 11 February 2006 | |
| First step for me today was removing most of the cockpit components. The panel and associated structures came out and some cleaning / tidying. | 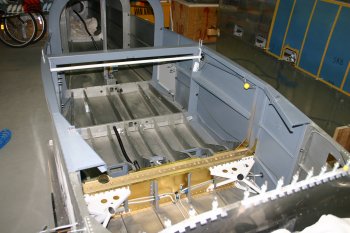 |
| This provided access to the fuel system covers and the nutplate locations were drilled. | 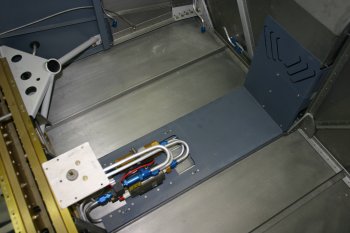 |
| Dad continued making big holes for snap bushes. | 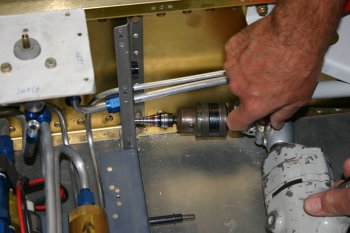 |
Mon 13 February 2006 | |
| Dad continued with the spar and snap bushes. | 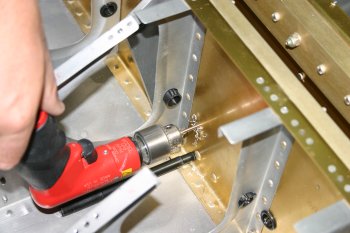 |
| At this point we stuck with 5/8" holes, although the position will let us open them up further if needed. | 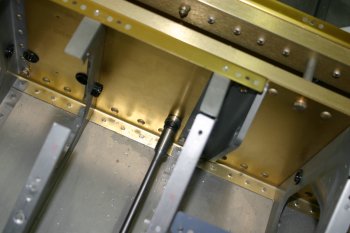 |
Tue 14 February 2006 | |
| On my own today - first couple of hours was spent thinking / laying out options and more thinking about routes for coax, power and pneumatic lines. Lots of 'if we do this, that solves A, but B & C then don't work' - repeat with a different combination of A, B and C. |  |
Thu 16 February 2006 | |
| Dad sorted the #6 tapping on the rear longerons ready for the fairing. Not much material to tap in places but should be OK. |  |
Fri 17 February 2006 | |
| One of the strange things with the second QB fuselage were some of the oddities. Whilst the Czech lads seem to be fairly uniform on what is done / not done, the Philippines lads seem to be a little schizophrenic - one side of the fuselage has the upper rivets missing. |  |
| The other has them installed. I have no idea why they wouldn't do the same on both sides. I'm guessing the slider might need something slightly different to the tip-up, but not side to side. We had to sort a creative bucking bar to do these locations but not too bad otherwise. | 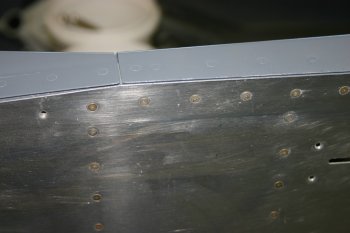 |
| Whilst we were in the bucking mood, we also sorted the forward rivets. The skin closed up significantly to the longeron during the process. | 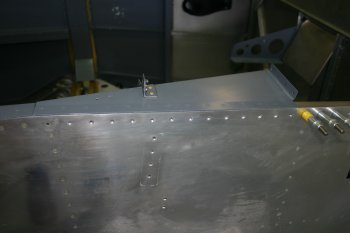 |
Sat 18 February 2006 | |
| Also started prepping for a ProSeal session with the steps and other bits. Too hot to work with ProSeal so hopefully tomorrow morning we can get that done. | 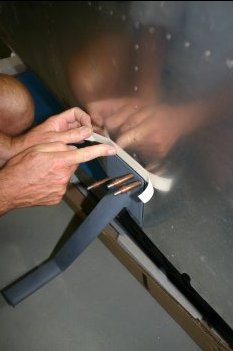 |
Mon 20 February 2006 | |
| Dad got back late afternoon and we got stuck into a large ProSeal session. I finished the masking of the center section - this is where any fuel spills doing maintenance of the high pressure pump filter will go and I want to try and contain it. | 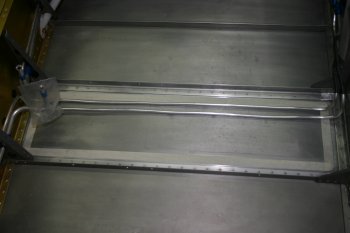 |
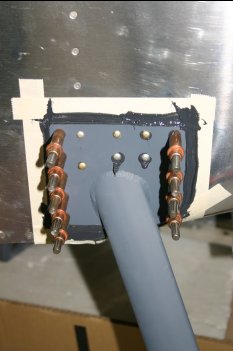
| We finished up the old ProSeal tins, a huge batch. | 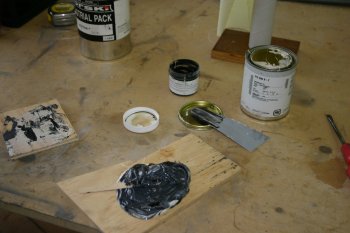 |
| Dad gooped up the first step with a thick layer. | 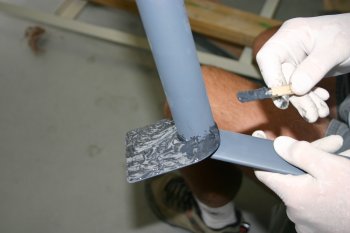 |
| Meanwhile I started laying a bead along the wing root, this is a recommendation I've seen from other builders to help stop rain / water driving into the cockpit area. | 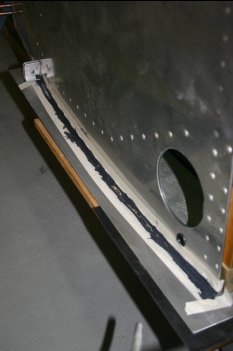 |
| The remaining Pro-Seal was used to fix the various pieces of conduit. | 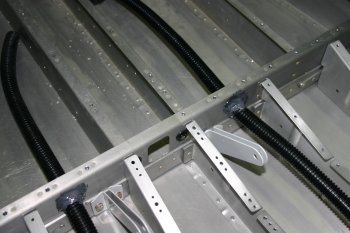 |
| it provides a 'soft' clamp as it goes through a metal 'rib' | 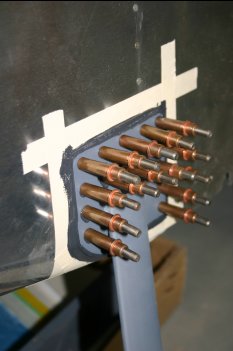 |
| The center floor section went well and the forward corners well 'covered'. | 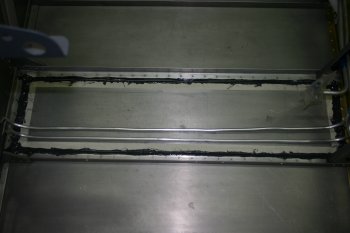 |
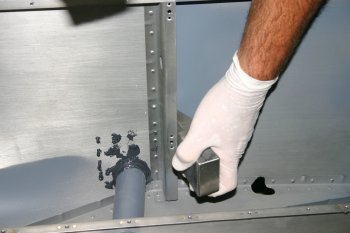
| The bucking was the normal deal of me driving the gun and Dad doing the bucking bar. | 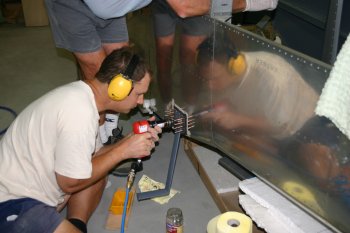 |
 | |
 | |
| The masking tape worked really well again - the excess is removed and the thixotropic nature of the ProSeal provides a smooth finish. | 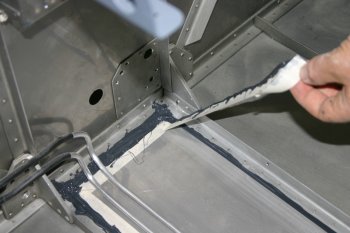 |
| The wing root worked well too. | 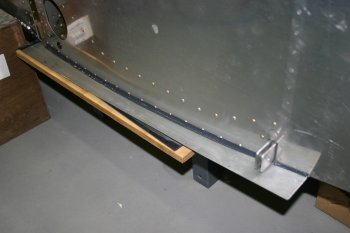 |
Fri 24 February 2006 | |
| Finished the step installation and AN3 bolts. | 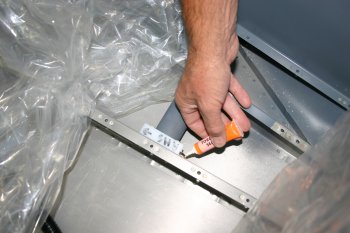 |
| Then masked up the fuse for internal spraying. The plastic bags worked well and was eaiser than the paper that I used previously. | 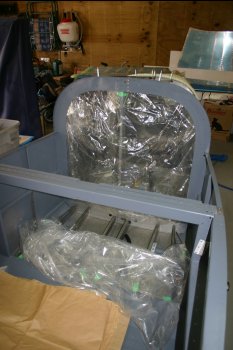 |
| The only tricky bit was masking the gear legs as I couldn't easily rub down / top coat those parts. | 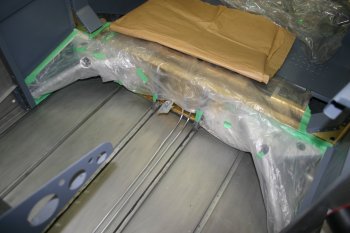 |
| Then it was musical fuselage's and we emptied the shed and setup in the carport for spraying. | 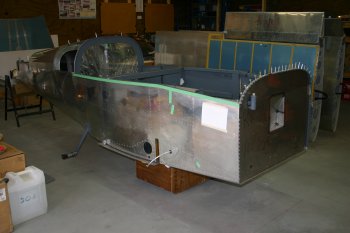 |
| I rubbed down the internal surfaces with 1500 / 800 grit to get a good clean rough surface, | 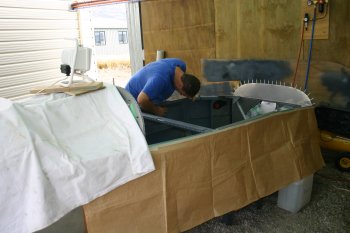 |
| and cleaned up with some acetone. The weather then started to cooperate nicely, with low 20Cs and dropping wind, although it was getting latish we decided to press on. | 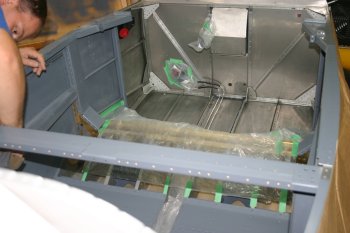 |
| Meanwhile Dad started mixing up the paint batches. | 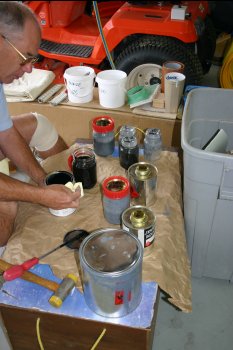 |
| Then a light prime over any exposed areas and then masking. | 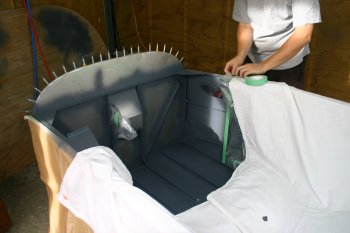 |
| Black top coat for the front section, | 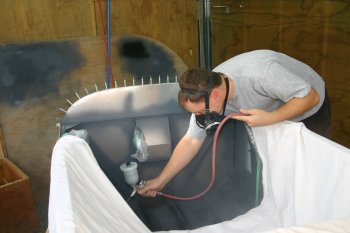 |
| And then a re-mask for the main cockpit area. The flood lights worked well but still hard to see some of the working lines. | 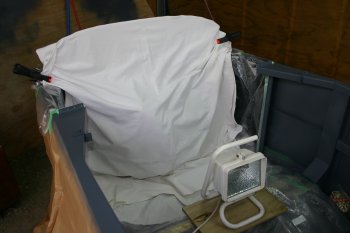 |
| The internal grey top coat went on well, I'm getting steadily better at using the paint systems, it definetely is more art than science! | 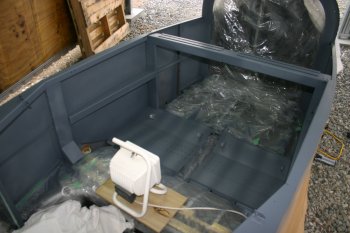 |
| Some of the major masking was removed and then it was just left to dry / cure over night. | 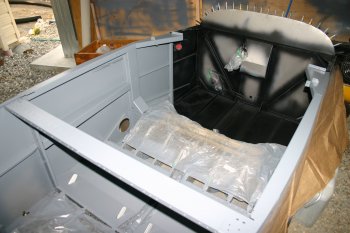 |
| From initial inspection - it is looking good. If I was doing it 'again', I would clean the whole cockpit area as soon as the QB fuse arrived and then prime it. Then do as much work as possible and fit / drill etc as many components as possible (like the current state), then touch up prime and top coat. The top coat could then be rubbed down lightly and second coat applied for some of the key area if desired. Of course this isn't completed yet, so it is only a current best guess.... | 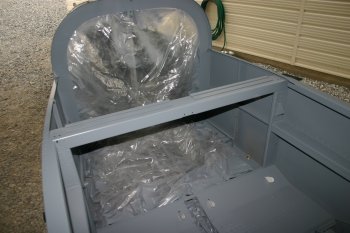 |
Sat 25 February 2006 | |
| Short day, started with removing all the masking from yesterday. The verdict is good - a few areas are a bit rough from over-spray but the top surfaces are really smooth. Decided to just leave everything and let it cure for the day. | 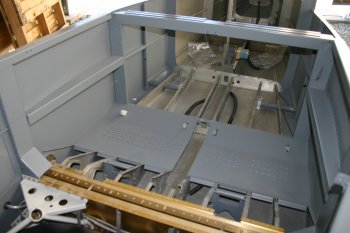 |
Sun 26 February 2006 | |
| I used 1600 grit wet and went over most of the larger flat surfaces and then washed the whole fuselage out as this will be the last time without 'other' components. | 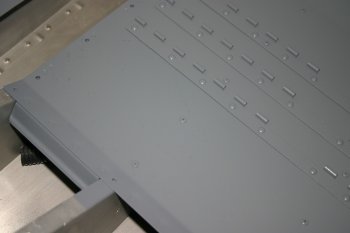 |
| Also sorted the canopy locking bar and sorted the clearance on the control tube / floor ribs. | 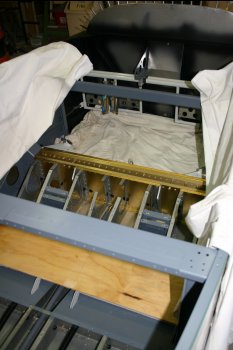 |
Mon 27 February 2006 | |
| Whilst the rear skin was still off I sorted the traditional static line, the route comes forward and then down to track forward along main elevator pushrod tunnel. | 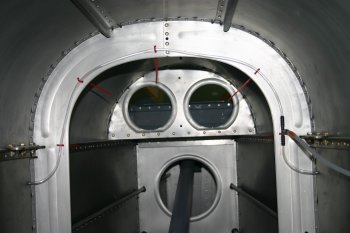 |
Tue 28 February 2006 | |
| With easy access I put the harness cables in - interesting that the nuts are just nylocks, rather than castle nut / cotter pins. Also used one of the mounting bolts for a adel clamp for the static line. | 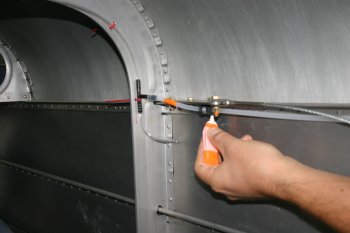 |
| I then spent some time sorting the new pitot lines - all was looking good, I even managed to get some protective sleeving on, but after more trails and thought I decided the inboard edge of the spar will be too high for this - another blind alley.... | 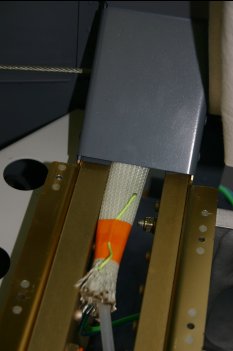 |
Mon 06 March 2006 | |
| Then I moved onto the upper rear C channel mounts, this should have been a good idea and the squeezed rivets were pretty easy. | 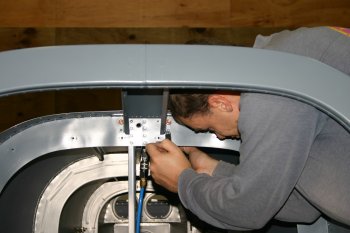 |
| The problem was I had missed a bulkhead rivet, with the C channel in, I couldn't get a flush rivet gun, yoke of any kind or even a pop-rivet gun in. Therefore I had to drill out 4 perfectly good rivets, to be able to squeeze the problem rivet. The drilled locations were for the old style bracket at the aft end of the channel. Not something most builders will have a problem with, luckily we hadn't done the skin upper rivet locations. | 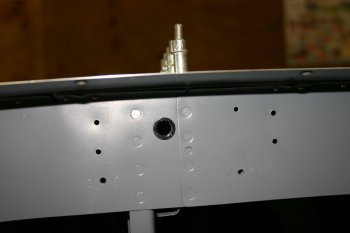 |
Tue 07 March 2006 | |
| Managed to get a little bit of spraying sorted also which was needed to continue the riveting of the bulkhead / roll bar area. | |
Thu 09 March 2006 | |
| Dad revisited the flaps / floor area. With the removable baggage floor we decided to modify it further to enable removal without touching the flap center mount. To provide some spacing and an additional nutplate fixture a small support plate was made. |  |
| Once evreything had been match drilled the floor pan could be modified. |  |
Fri 10 March 2006 | |
| Dad swapped out the VANs AN4-12A for new AN4-13A along the top of the spar. The original bolts were very marginal in length, something we had orderd a while back but not completed yet. | 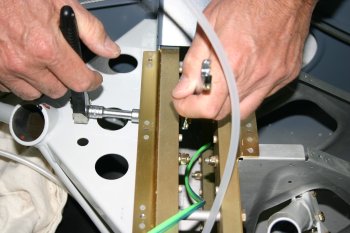 |
Sun 12 March 2006 | |
| First up, tried to get some sprarying done. Too cold for much and the paint wasn't going on well. I did manage to get the flap spacer done, so we installed the flap torque tube and bits. | 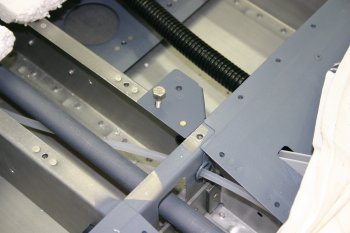 |
Mon 13 March 2006 | |
| The whole day was spent spraying. The weather looked good right from the start so lots of scuffing, allsol'ing and de-oxidine. | 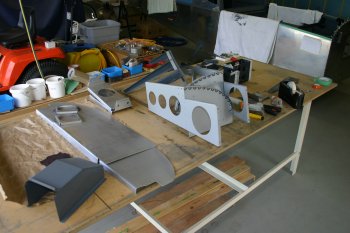 |
| This was the largest spray session we've completed in one day, the major problem was finding enough space for drying and layout. | 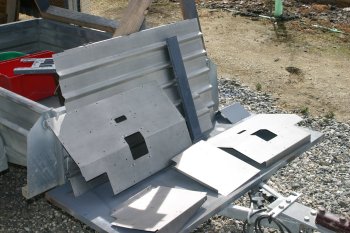 |
| My spraying skills have definitely improved compared with the start of the project, but I still find the lighting / getting enough paint on to flow properlly quite a challenge. After 4 hours of solid spraying I was exhuasted mentally. | 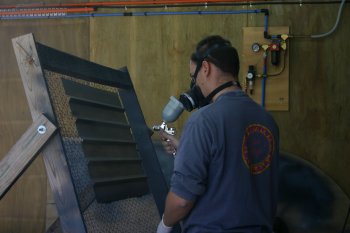 |
| The net result, Dad kept the mixed paint coming and I kept changing the colour of parts. Prime, grey top coat and black top coat were all done. | 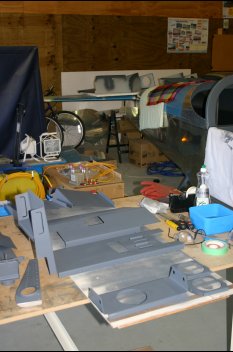 |
Wed 15 March 2006 | |
| The photos for today are just about the forward cockpit area - other things were done, but no photos! Some of the vertical rivets can be squeezed, but the vast majority have to be shot / bucked. | 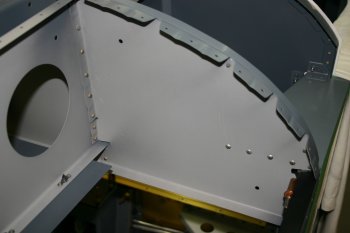 |
| The problem rivets are the lower side locations of the mid cross-member. The RHS didn't come out well, the LHS we had a bit more of a clue. Start with the outboard locations, top to bottom - they can be shot from the aft side, then the inboard ones can be bucked from the back, starting at the bottom. Photo from forward looking aft. | 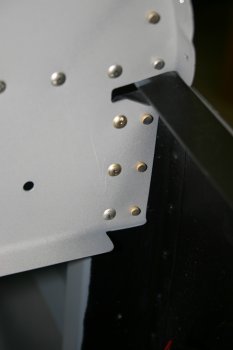 |
Thu 16 March 2006 | |
| Then the challenge was getting the fuselage high enough, the firewall needs to be about 36" abouve the floor. | 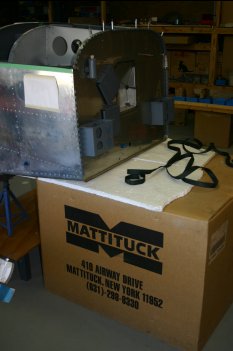 |
| Mattituck provided assistance again - the cardboard cover provided a good start lift point. | 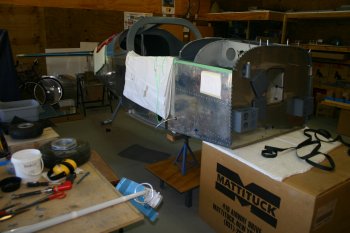 |
Thu 30 March 2006 | |
| Dad did some measuring and drilling for the wing conduit locations, hopefully the conduit should be able to go all the way into the main fuse. | 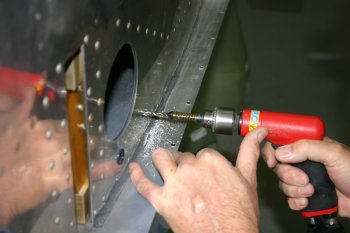 |
Sat 19 August 2006 | |
| Started the day by making a couple of .025 AL rings for future push rod boots. The fuselage skin has two layers with the inner being pressed, so the fixings need to be an extra 1/2 " outside the main cut out. | 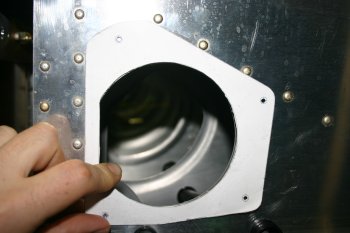 |
| After some positioning and verification the four locations were drilled out and nutplates jig drilled. Still debating between #6 and #8 screws - probably will end up with #8 for simple consistency. | 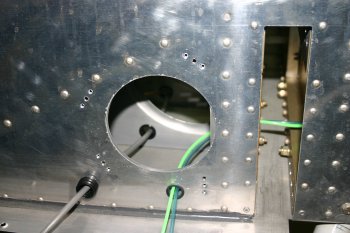 |
Fri 15 September 2006 | |
 | |
 | |
 | |
 | |
 | |
 | |
Sat 16 September 2006 | |
 | |
 | |
 | |
Sun 17 September 2006 | |
 | |
Mon 25 September 2006 | |
| Whilst we are waiting for delivery of some bits from Stein, I did some other bits on the list. One item is providing some floor stiffening for the baggage area. I grabed a length of J chanel and set to with the die grinder. | 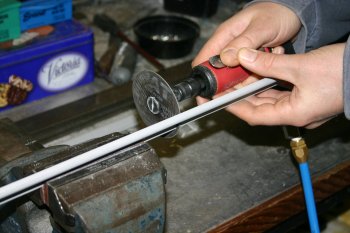 |
| Then match drilled, dimpled, preped and back riveted. | 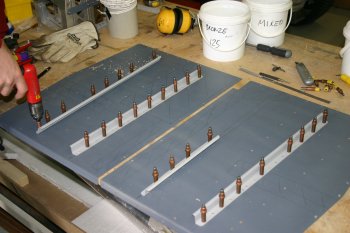 |
| The result - provides quite a nice base - I might need something on the top of the strobe pack - to be decided. | 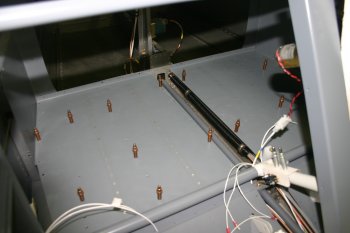 |
Mon 20 November 2006 | |
| Moving away from wiring and onto something a bit different, we cleared the work tops and the shed in general. Re-attached the lower cowl and started looking at 'the next thing'. | 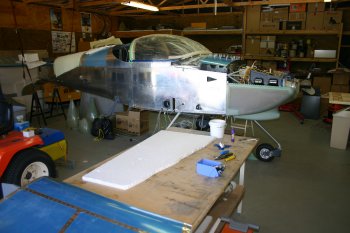 |
| The forward skin panel is being delayed for as long as possible (wiring access) but de-burring and prep can continue. I worked on the skin - I'd forgot about deburring holes..... | 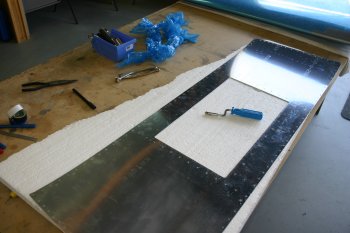 |
| whilst Dad worked around the dimpling on the fuselage. | 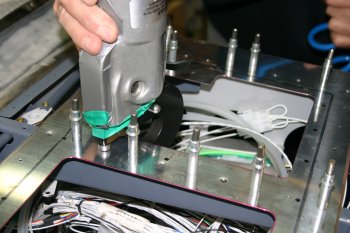 |
| The upper cowl hinge attach is riveted with the skin, but I've decided to use a few locator rivets to ease assembly. Machine counter sunk the piano hinge, | 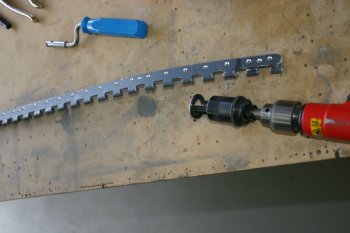 |
| and dimpled the firewall stainless steel. This was then fully cleco'd up and about half a dozen intermediate locations we added for the keeper rivets. | 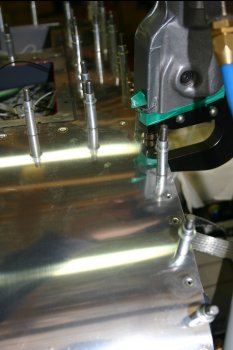 |
| Dad also prep'd the backer plate. BTW: I'm hearing a rumour that VANs is going to make some form of access panel for the tip ups in this area, it will be interesting to see how he does it - not that I plan to change our solution. | 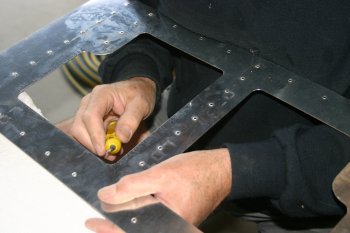 |
Tue 27 February 2007 | |
| First thing to fix was the pushrod boots, I've changed the nutplates from being on the fuselage to being on the external plates and the screws will go inside the fuse pointing outboard. | 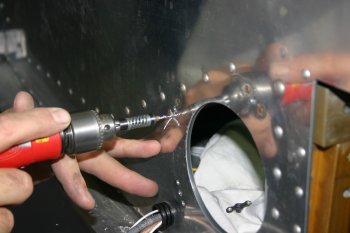 |
Thu 15 March 2007 | |
 | |
Fri 16 March 2007 | |
| Some trimming of the rudder stops and polishing up. | 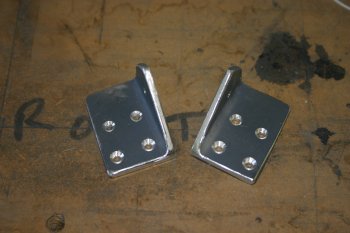 |
| Now we can get in with the pop rivetting for the forward locations..... | 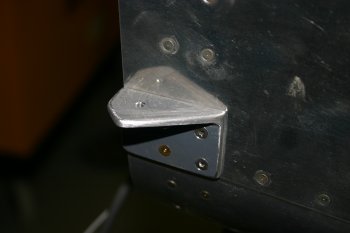 |
Mon 19 March 2007 | |
 | |
Thu 22 March 2007 | |
| There was one 'dodgy' rivet in the upper fuselage, I had already tried to drill out and re-rivet but that just created a bigger mess. In the end I decided a screw and nut was going to be the cleanest solution. | 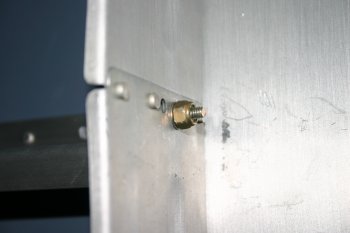 |
Mon 21 May 2007 | |
| I spent ages getting split trunking on both sides of the tunnel cables and making some custom clamps to hold it. It is heavy, but will stop any risk of rubbing / chaffing. | 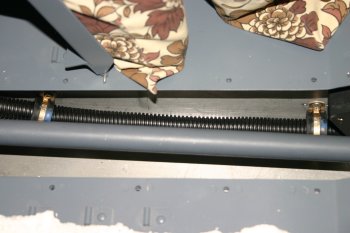 |
| Also rigged the flap cabling. | 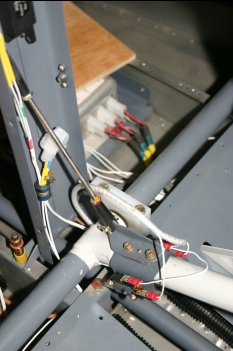 |
Fri 25 May 2007 | |
| I never really liked the VANs solution of pincing the harness cables and using a nyloc nut, as I was back there I changed the two locations out for a drilled shank / castle nut option - works well. |  |
Mon 01 October 2007 | |
| Prep / masked up the canopy frame ready for Pro-Seal. | 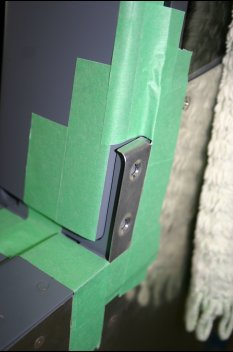 |
Tue 02 October 2007 | |
 | |
 | |
Fri 02 November 2007 | |
 | |
 | |
 | |
 | |
Sat 03 November 2007 | |
 | |
Thu 15 November 2007 | |
 | |
 | |
Fri 16 November 2007 | |
 | |
Mon 19 November 2007 | |
 | |
 | |
| Home | Carl Morgan | Previous|Next|Latest |